Part 1 here: https://www.mmit.me/blog/2016/10/28/i-need-nas-the-10gbe-home-nas-guide/
Part 2 here: https://www.mmit.me/blog/2016/10/28/i-need-nas-part-2-performance-testing/
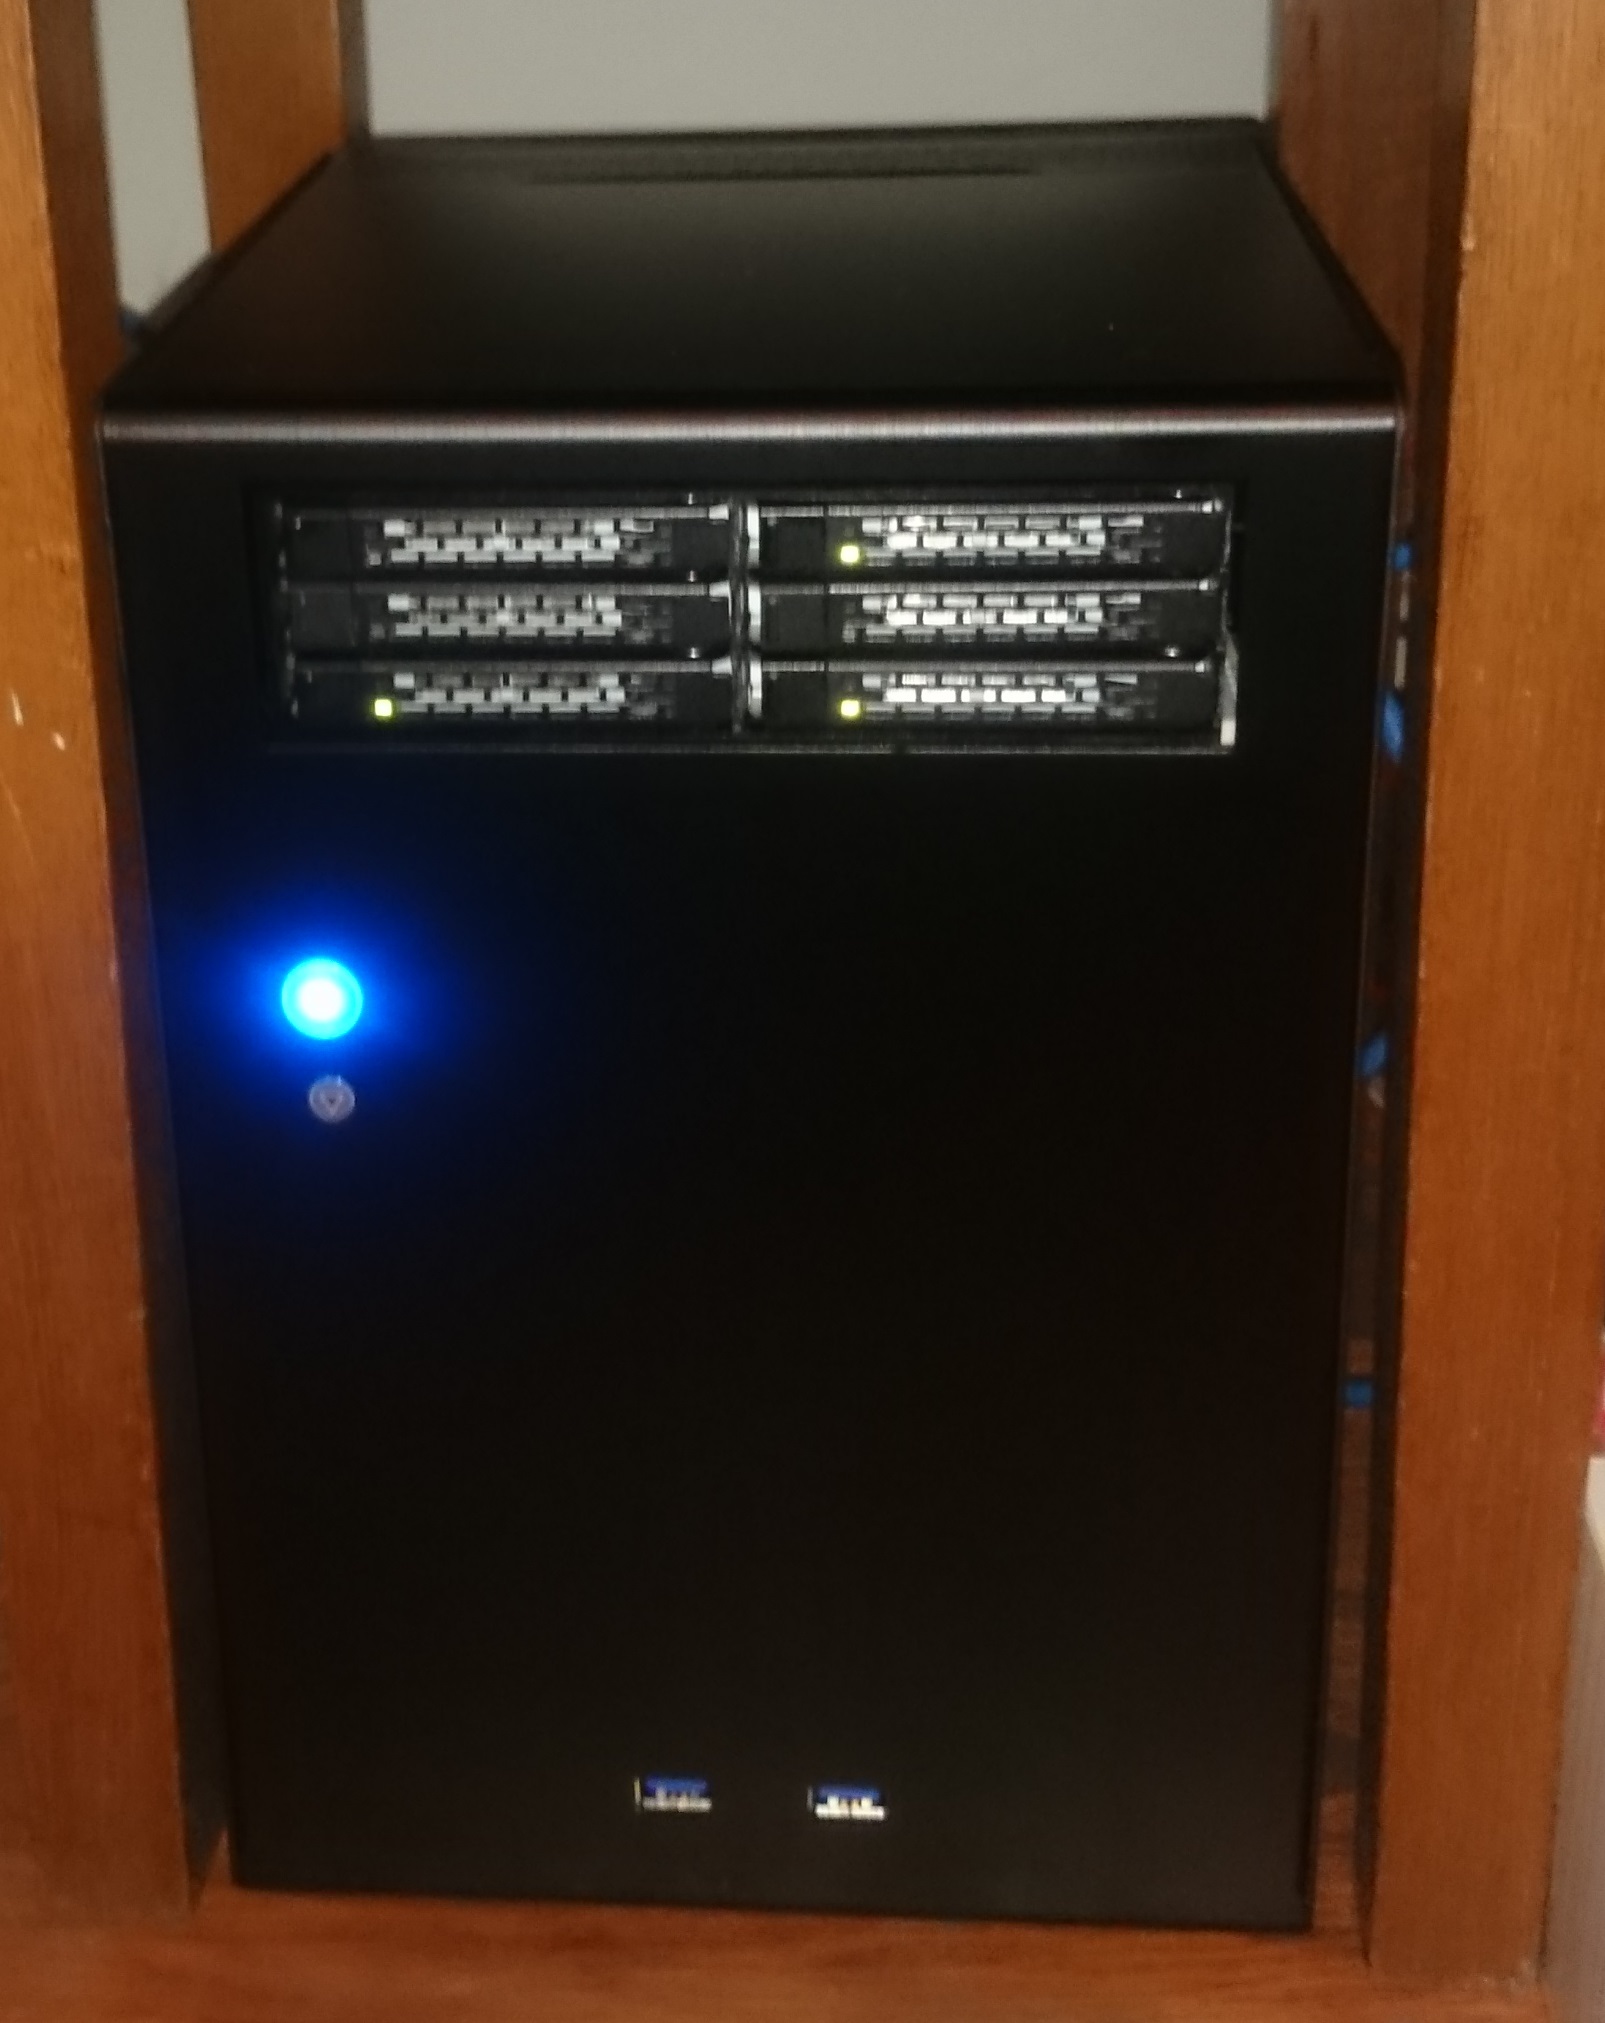
Having proved the concept we felt confident splashing out on the final components – the case and mobile rack.
A lot of research and head-scratching went into the case choice – more so than any other component. We wanted small size and more importantly small footprint above all else. Also remember that we have low noise as another criterion so the components will need some space to breathe, and we won’t be relying on small noisy fans. Since our motherboard has six SATA ports for hard disks, we wanted the ability to install up to six SSDs, and ideally they should be in externally accessible bays. The Icy Dock MB996SP-6SB six-drive mobile rack caught our eye, and this meant we needed a case with an external 5 1/4 inch drive bay.
https://www.icydock.com/goods.php?id=151
This mobile rack has a fan at the back with two speeds and off selectable from a switch. Since we’re using low-power SSDs, and this mobile rack isn’t particularly dense (they do an eight-disk one in the same size), we switched it off.
Having researched pretty much everything on the market, and after somewhat reluctantly eliminating the Silverstone CS280 and CS01-HS (both are bigger), we went for the Lian Li PC-Q07 (sadly now discontinued). This has the requisite 5 1/4 inch bay and a very small footprint thanks to vertical motherboard mounting. It also has space for a single 3 1/2 inch drive if we ever need it. It has no space for case fans and is designed for passive convection cooling. It even has a small hole at the back at the bottom, next to the expansion card slot, where we could mount our power supply inlet. Sounds right up our street.
https://www.overclockers.co.uk/lian-li-pc-q07b-mini-itx-case-black-ca-180-ll.html
We quite liked the silver one but the mobile rack was only available in black, so black it had to be.
Assembly was reasonably straightforward. The only slightly tricky thing was that the motherboard mounts to the side panel, and both side panels have to be removed to fit anything into the 5 1/4 inch bay. Remember to fit the 5 1/4 inch device first (and attach the SATA data and SATA power to Molex adapter cables at the back – you won’t be able to later), then install the motherboard. Although the case has two USB 3 ports, the motherboard only has a USB 2 header. Fortunately Lian Li thought to include a USB 3 to USB 2 converter. We also fitted the ultra low noise adapter to our CPU fan in order to reach our noise targets. The six SATA cables were connected to the motherboard and the two power adapter cables were attached to the power supply (two SATA power to Molex adapter cables are included with the mobile rack). The PC-Q07 has space for an ATX power supply which we’re not using of course. We found a blanking plate on eBay to cover the hole. The only other thing to mention here is that this case in black is a fingerprint magnet. There was lots of wiping with microfibre cloths when we finished!
Having connected the power, it just remained to plug in our USB boot drive at the back and connect all three ethernet connectors. One of the ethernet connectors is the IPMI management port, so that went into our gigabit switch with DHCP addressing. (Update: IPMI firmware 3.46 is now available for this board and updates remote console to HTML5 instead of the nasty Java thing that relied on Internet Explorer; we installed it immediately.) We also connected one of the two 10Gbe ports to the same switch; this gives our machine internet access. The second 10Gbe port was connected to our client machine which had the X550-T2 card installed, and both ends of the 10Gbe link had static addresses on a different network segment. This allowed performance testing at maximum speed. We don’t have a 10Gbe switch yet (we like the Asus XG-U2008 but we’re waiting until they do one with more than two 10Gbe ports).
Now we’re ready for some more testing.
Part 4 here: https://www.mmit.me/blog/2017/02/22/i-need-nas-part-4-zfs-and-solaris/